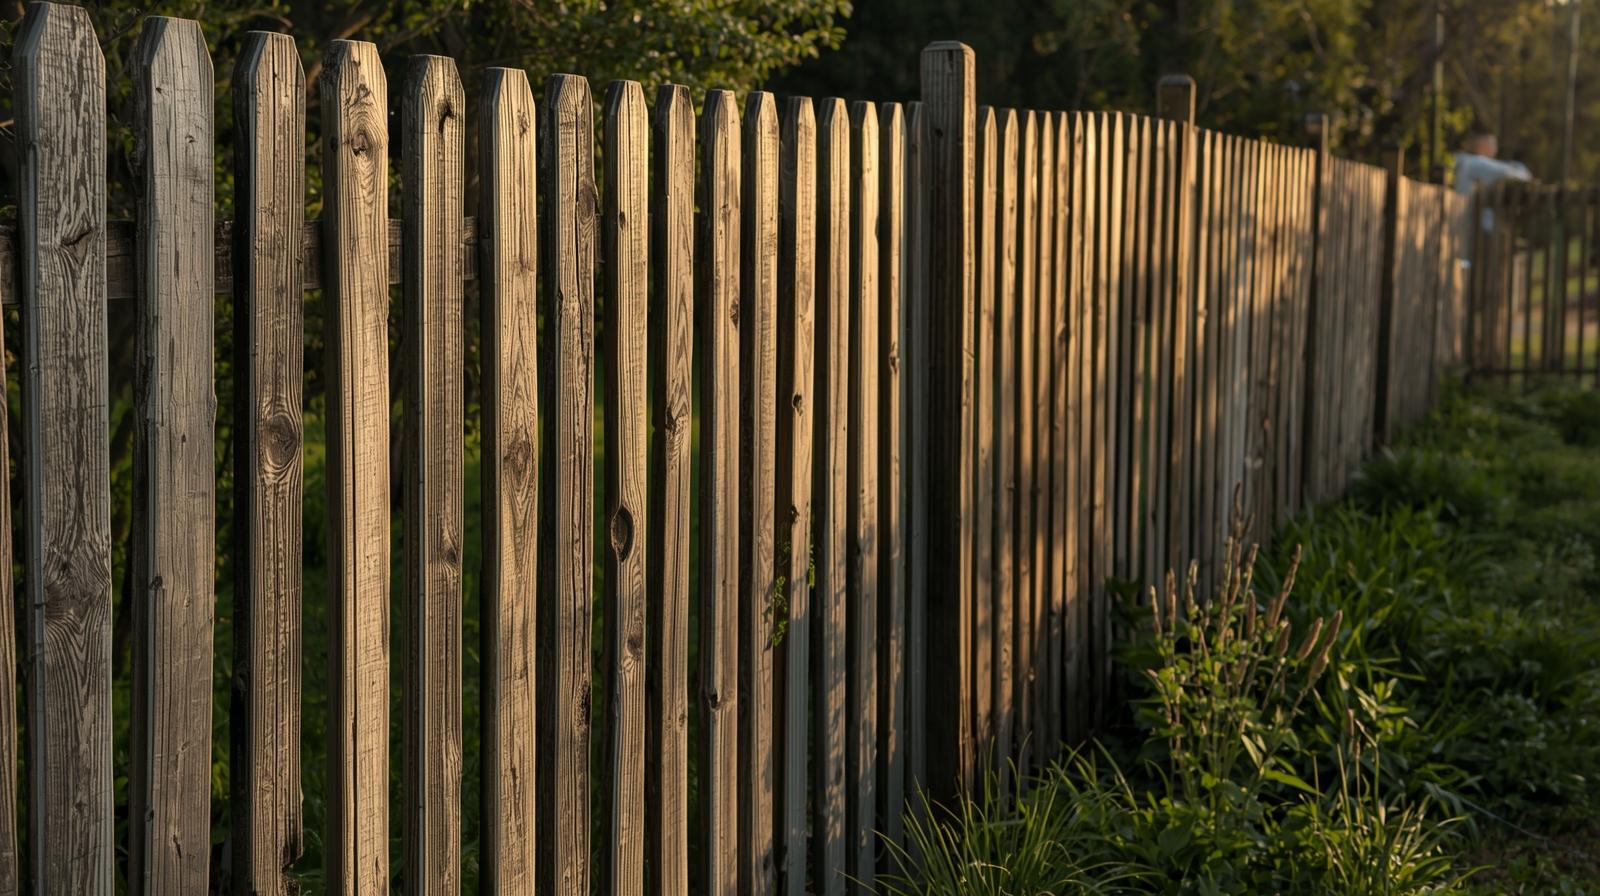
DIY Fence Installation Guide: Choosing the Best Types & Styles for Your Yard
Fences do not fail in the panels. They fail at the posts, and they fail from the ground up. In Michigan that means setting below the frost line so the post is not lifted by frost heave each winter, and — the part that gets skipped — making the footing drain rather than making it a bucket. Concrete poured into a hole with no drainage holds water against the bottom of a wooden post, which rots it faster than leaving it in bare soil would.
Before any of that, two checks that cost nothing and are expensive to skip: where the property line actually is, and what the local rules say about height, setback and which side the finished face has to show. A fence built a foot over the line is a legal problem, not a carpentry one.
Then the choice itself is a function question, not a taste one. Privacy and noise want solid board with no gaps and enough mass; a boundary or decorative run wants picket or split rail and is far cheaper; a dog wants a specific height and no gap at the bottom. Post spacing follows the panel system rather than the other way round, and gates need a heavier post on the hinge side than anything else in the run.
Phase 1: Planning and Preparation
Before you buy a single bag of concrete, you need a solid plan. Ignoring this phase is the number one reason DIY fence projects fail or result in costly conflicts with neighbors.
1. Know Your Property and Rules
- Property Survey: Confirm your exact property lines. Never build a fence directly on the line unless you have a formal agreement with your neighbor. Always build a few inches inside your boundary to ensure there is no dispute about ownership or maintenance.
- Zoning and Permits: Contact your local building department or HOA (Homeowners Association). Most municipalities have strict rules regarding fence height, material, and setback requirements. You will almost certainly need a permit, and penalties for building without one can be severe.
- Call 811 (Dig Alert): This is mandatory! Call 811 a few days before you dig. Professionals will mark the location of underground utilities (gas, water, electrical) to prevent dangerous and expensive accidents.
2. Layout and Materials Calculation
Use stakes and string to map the entire fence line. This lets you visualize the project and accurately calculate the materials needed, primarily fence posts and panels/pickets. Standard fence sections are typically 6 or 8 feet long, so plan your layout to minimize waste.
Phase 2: Choosing the Right Fence Type (Style Meets Function)
The best fence design depends entirely on its primary function—do you need security, privacy, or just a decorative boundary?
1. Privacy and Noise Reduction
When seclusion is your top priority, you need a solid barrier. Wood privacy fences offer maximum seclusion and a timeless, customizable look. They are often the most affordable choice upfront, providing classic aesthetics, but be aware they require high maintenance, including regular staining or sealing, and they are prone to rot over time. For a zero-maintenance solution, consider Composite or Vinyl fences. These materials are highly durable, water- and pest-resistant, and never need painting or staining. The main trade-off is a higher initial cost, and sometimes the final aesthetic can look less natural than real wood.
Key Feature: These designs use solid panels—like board-on-board or stockade—that overlap or butt together, creating an opaque barrier.
2. Decorative and Boundary Fences
If your goal is to define boundaries and boost curb appeal without blocking the view, decorative styles are ideal. The Wood Picket Fence offers charming, classic appeal and is relatively easy to install, making it perfect for defining front yard boundaries. However, it requires regular painting and offers no privacy. For maximum elegance and durability with minimal upkeep, Aluminum or Wrought Iron fences are the best choice. They are extremely durable and low maintenance, often serving as great security deterrents or pool enclosures, but they are expensive and provide zero privacy.
Key Feature: These fences typically feature vertical pickets or decorative rails with space between them, prioritizing aesthetic appeal over seclusion.
Phase 3: The DIY Installation Process
While techniques vary slightly by material, the foundational steps for any fence are the same.
Step 1: Digging and Setting the Posts
The Depth Rule: Your fence posts are the backbone of your structure. Post holes must be deep enough to withstand frost heave and strong winds—a general rule is that the post should be buried at least one-third of its total height. For a 6-foot fence, you need a 2-foot deep hole.
- Dig Holes: Use a post-hole digger to create holes that are 3-4 times the width of your post.
- Add Gravel: Place 4–6 inches of gravel in the bottom of the hole for drainage.
- Set and Brace: Place the post in the hole. Use a level to ensure the post is perfectly vertical (plumb) and brace it with scrap wood supports.
- Pour Concrete: Pour fast-setting concrete mix into the hole around the post. Mix water according to the product instructions. Slope the concrete away from the post base at the top to shed water, preventing rot.
- Cure: Allow the concrete to cure fully (usually 24–48 hours) before adding panels.
Step 2: Attaching Rails and Panels
Once your posts are set and stable, you can install the rest of the fence.
- Rails (Wood Fences): Use 2x4 rails to run horizontally between the posts, typically at the top, bottom, and center. These rails provide the frame for attaching your pickets or panels.
- Panels (Prefabricated): If using pre-built panels (common for composite and vinyl), simply lift and secure them between the posts using metal brackets or manufacturer-specified fasteners.
- Pickets (Custom Wood): Measure and attach your pickets vertically to the horizontal rails using galvanized deck screws, ensuring uniform spacing.
Step 3: Installing Gates
Gates should be hung last, as they require meticulous measurement to ensure they swing freely without sagging.
- Gate Posts: Always ensure the two posts supporting the gate are especially sturdy, as they will bear dynamic weight.
- Hardware: Install heavy-duty gate hinges and a latch. For wooden gates, use a diagonal cross-brace to prevent the gate from sagging over time.
Ready to Start Building?
A new fence adds immense value, security, and beauty to your home. By taking the time to plan correctly, understand your material needs, and follow the fundamental installation rules, you can successfully build a professional-quality fence that lasts for decades.
Need a hand with those initial planning steps or a quick start on digging those post holes? Let me know how I can help you kick off your project!
Related
- What a privacy fence is actually worth — the value question rather than the build question
- Carpentry — gates, posts, rails and exterior timber
- Handyman in Williamston — rural property, outbuildings and fence lines