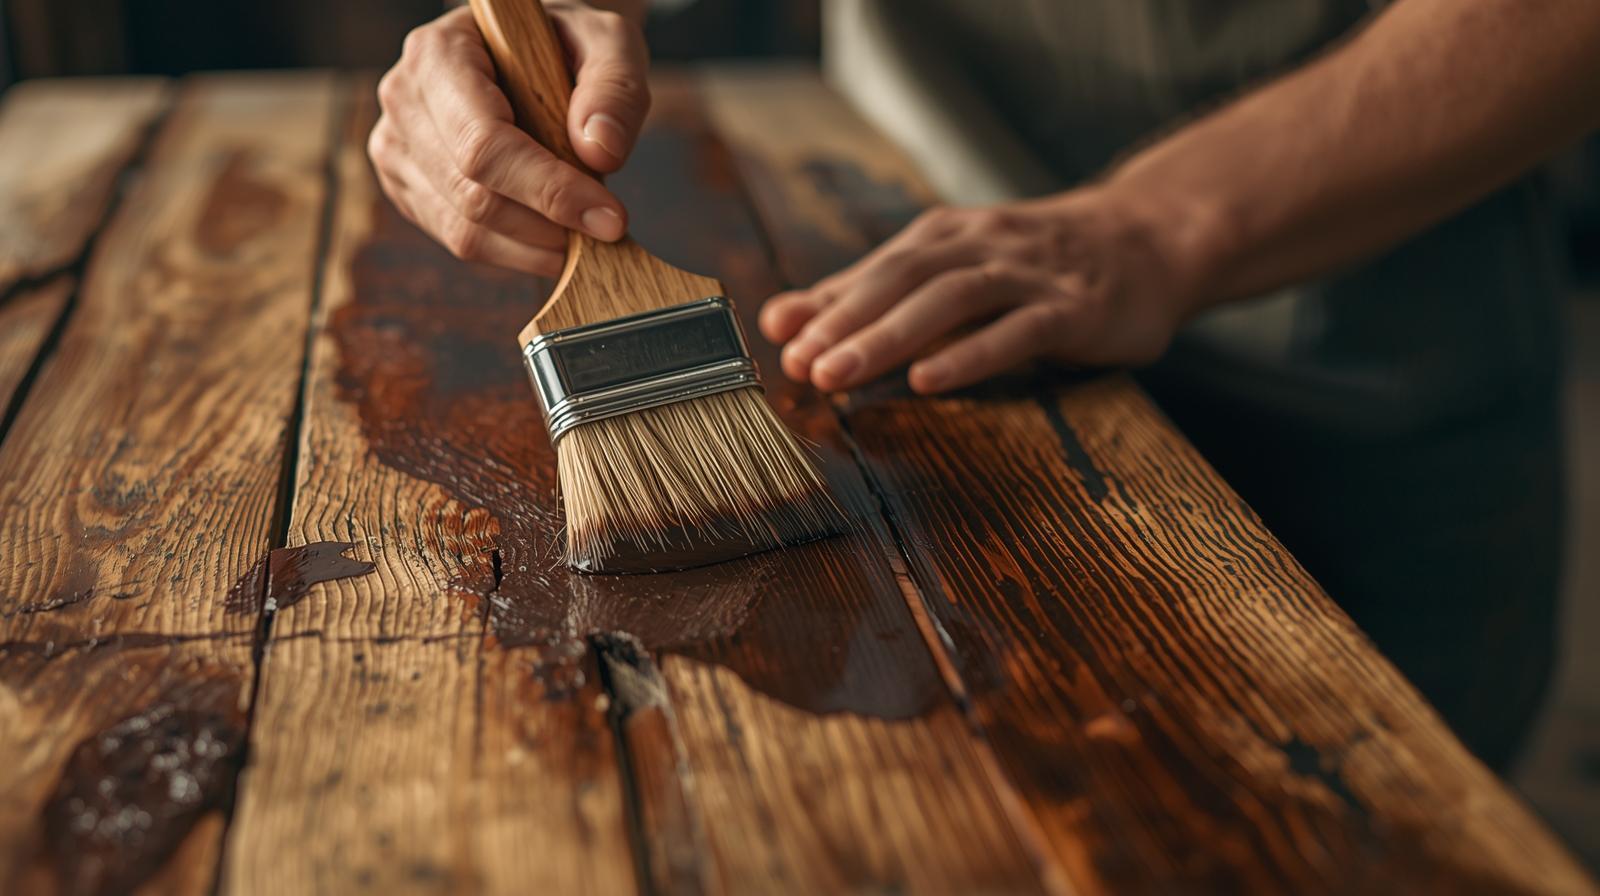
Painting Wood Like a Pro: Essential Prep and Techniques for a Lasting Finish
Paint does not fail because of the paint. It fails because of what was underneath it. A film can only be as sound as the surface it is gripping, and every one of the common failures — peeling, flaking, blistering, a finish that looks patchy in six months — traces back to a step skipped before the lid came off.
The sequence, and none of it is optional: clean (dirt and chalk stop adhesion, and a surface that looks clean usually is not); scrape back to sound material, not to where you got bored; sand to give a key, including any glossy existing finish; repair and seal splits, knots and end grain; prime with a primer chosen for the substrate rather than a coat of the topcoat.
Then two thin coats, not one thick one. A heavy coat skins on the surface while the body underneath is still soft, which is what produces a finish that dents with a fingernail a week later. And the recoat time on the can is a minimum, not a suggestion — recoating early traps solvent and causes the wrinkling people blame on the brand.
Phase 1: Preparation – The Foundation of Durability
Skipping prep is the single biggest cause of paint failure. Do not move on until these steps are complete.
1. Clean the Surface Thoroughly
Dirt, dust, and especially grease and grime (common on interior trim and cabinet doors) prevent paint from adhering.
- Interior Wood: Use a mild degreaser or Krud Kutter to wipe down all surfaces. Rinse with clean water and let it dry completely.
- Exterior Wood: Use a deck cleaner or mild detergent and water, focusing on areas with potential mildew growth. Allow the surface to dry for at least 48 hours to ensure no moisture is trapped in the wood grain.
2. Scrape and Sand (The Hard Part)
If the wood has old, failing paint, you must remove it.
- Peeling Paint: Use a paint scraper to remove all loose, cracked, or bubbling paint.
- Feather the Edges: Sand the edges where the old paint meets the bare wood using 80-grit sandpaper to feather the transition. Follow up with 120-grit paper to smooth the surface.
- Bare Wood: If the wood is new or fully stripped, finish sanding with 150-grit sandpaper in the direction of the grain to create a uniform, smooth texture that primer can easily grip.
3. Repair, Patch, and Seal
Inspect the wood for imperfections and address them now—paint won't hide them!
- Fillers: Use wood filler for deep gouges or cracks. Use an exterior-grade filler for outside projects.
- Caulk: Seal all gaps, seams, and corners (where the trim meets the wall, for example) with paintable acrylic caulk. This prevents water intrusion outside and gives your interior trim a seamless look.
- Dust Removal: Before priming, use a tack cloth or vacuum with a brush attachment to remove all sanding dust.
Phase 2: Priming – The Adhesion Bridge
Primer is not optional. It is the crucial middle layer that provides an ideal bonding surface for the topcoat, seals the wood, and prevents stains from bleeding through.
1. Select the Right Primer
- Stain Blocking: If you are painting stained, knotty, or dark wood (especially pines), you must use a shellac-based primer or an oil-based primer. These are the only things that will reliably block tannins (natural wood pigments) from bleeding into your light-colored topcoat.
- Adhesion: For interior trim that has a glossy finish, use a high-adhesion primer (sometimes called bonding primer) to ensure the topcoat sticks firmly without sanding down to bare wood.
- Exterior: Always use a primer labeled specifically as Exterior Wood Primer.
2. Application Technique
Apply a thin, even coat of primer. Do not apply it too thick, as this can lead to peeling later. Follow the manufacturer's drying instructions perfectly. Once dry, perform a very light sanding with 220-grit sandpaper to knock down any grain that may have raised, then wipe clean with a tack cloth before proceeding to the topcoat.
Phase 3: The Topcoat Application
1. Use the Right Tools
The best application for wood is often a high-quality synthetic brush (for water-based paints) or a natural bristle brush (for oil-based paints) combined with a small foam or felt roller for flat areas like cabinet panels.
2. Thin Coats are Key
Avoid the temptation to apply thick coats of paint. Two thin coats are always better than one thick coat. Thin coats cure more consistently, offer better adhesion, and are less likely to sag, drip, or peel.
3. "Wet Edge" Technique
Always maintain a "wet edge"—this means when you apply a new section of paint, you slightly overlap the previous section before the edge of that previous section has dried. This prevents lap lines and ensures a smooth, uniform finish.
- When painting long wood pieces (like baseboards or railings), move continuously from one end to the other.
4. Respect Recoat Time
Read the can! The recoat time (the time you must wait before applying the second coat) is a chemical requirement, not a suggestion. Painting too soon will break the bond of the first coat and lead to a soft, poor-curing finish.
The Haslett Handyman Takeaway
Painting wood surfaces is one of the most transformative updates you can make to your home. But the longevity of that update rests entirely on the quality of the preparation and the patience you show during the process.
If you have stubborn peeling paint, complex trim work, or simply don't have the time for the meticulous prep a professional job requires, we're here to help.
The team at Haslett Handyman serves the entire Lansing area, specializing in high-durability finishes for both interior and exterior wood projects. Contact us today to ensure your paint job lasts for years, not months!
Related
- Painting and decorating
- Interior vs exterior paint on wood — choose the product before you start the prep
- Removing paint splatter from glass — for afterwards