
The Haslett Handyman Blueprint: Your Complete Guide to Bathroom Remodel Planning
The decision that sets the budget is whether the plumbing moves. Keeping the toilet, bath and basin on the existing wet wall keeps a bathroom in the range of a refit. Moving the soil stack to put the bath where the window is turns the same room into a structural job, and it happens below the floor where nobody can see what it will cost until the floor is up.
Then, in order: settle the scope and a real contingency before choosing a single finish; fix the layout around the wet wall and check that ventilation is going somewhere outside rather than into the loft; decide materials with waterproofing as the first choice rather than the last; and only then sequence the trades — demolition, first-fix, waterproofing, tiling, second-fix, finishing.
On cost, this blog publishes one real job in full rather than a national average: a complete Lansing gut and rebuild at $17,500.68 in labor, run daily for six weeks with the homeowner buying materials. A second bathroom on record came to $12,000. Two jobs is not a range, and they are written here as two prices for exactly that reason.
Step 1: Define the Scope and Secure the Budget
The first step isn't about paint chips—it's about math and honesty.
A. Project Scope: Renovation vs. Update
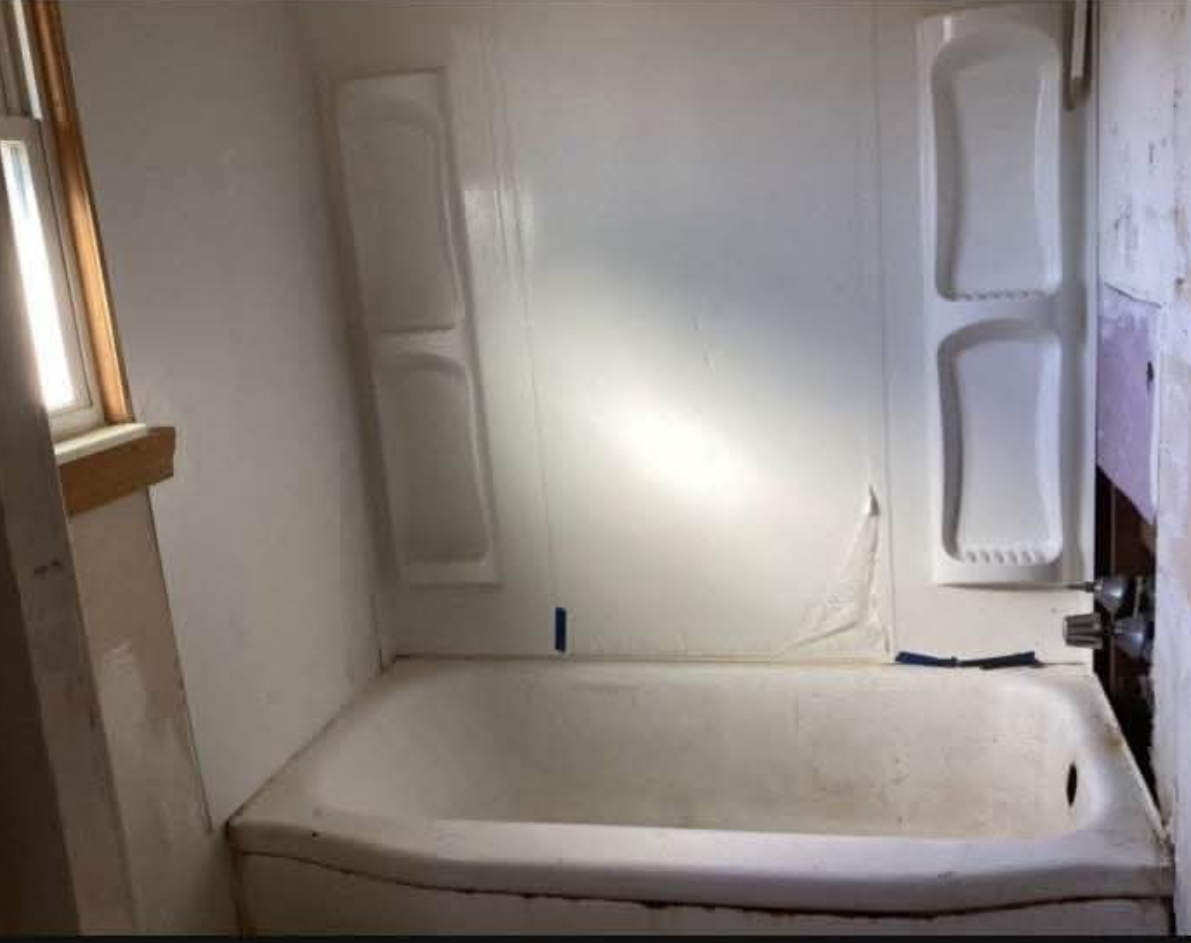
Decide exactly what you are tackling. Is this a cosmetic update (new paint, hardware, vanity top) or a full renovation (moving plumbing, tearing out the tub, re-tiling everything)?
- Minor Update (3-7 Days): Focuses on surface materials. Keeps all existing plumbing locations.
- Full Renovation (3-5+ Weeks): Changes the layout, replaces the shower/tub, and updates electrical systems. This is where professional coordination is essential.
B. Set a Realistic Budget (and Contingency)
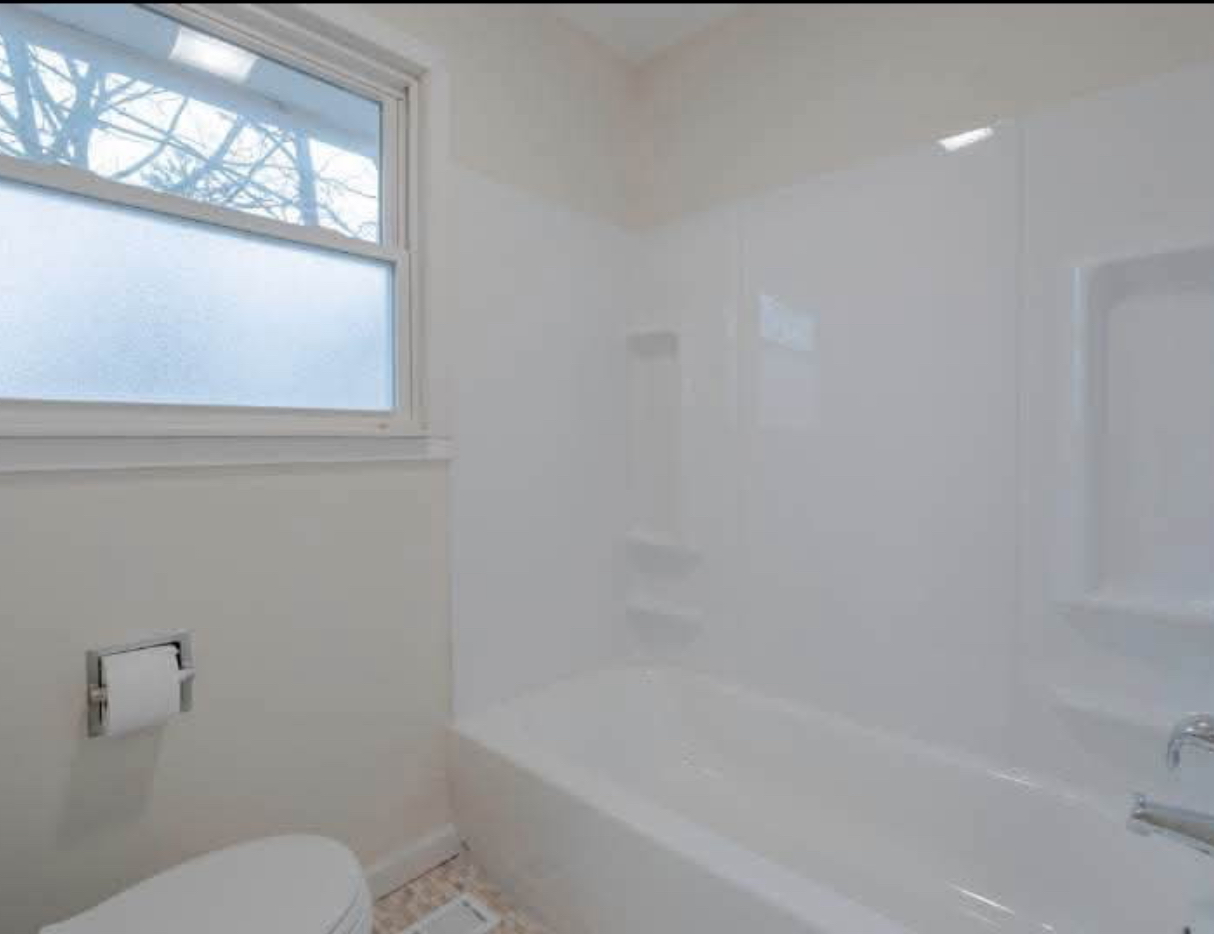
We do not publish a national average here, because a range with a $20,000 spread is no help when you are standing in your own bathroom. The two full bathroom projects on our own record came to $12,000 and $17,501. That is two prices rather than a range — two jobs cannot describe a distribution — and the second one is written up on this blog line by line.
Crucial Tip: Always budget an extra 15% to 20% for contingency. This protects you from unexpected costs like finding mold behind the shower wall, rotten subflooring, or having to upgrade your plumbing lines to meet current code.
C. Establish a Timeline
Be realistic about how long your bathroom will be out of commission. Once demolition starts, the project needs to move quickly and efficiently. Allow time for material lead times (especially custom vanities or specialty tile) and city inspections, which can add significant delays if not scheduled properly.
Step 2: Optimize the Layout and Functionality
Before you buy a single fixture, finalize your layout. Functionality and safety must take precedence over pure aesthetics.
A. The "Wet Wall" Rule
The wet wall is the wall where your primary plumbing lines (hot and cold water supply, drain lines) enter the room.
- To Save Money: Try to keep the toilet, shower/tub, and vanity sink where they currently are. Moving the toilet drain or shower connections can be expensive, requiring demolition of the subfloor or cutting into joists.
- To Maximize Space: If you need a complete change, look at options like smaller wall-mounted vanities or pocket doors to reclaim swing space.
B. Ventilation is Mandatory
A functional exhaust fan is the single best defense against mold, mildew, and structural water damage.
- Ensure your fan is properly sized for your room's square footage (measured in CFM – cubic feet per minute).
- The fan must vent outside, not into the attic. If your current fan vents into the attic, this is a code violation and must be corrected during the remodel.
C. Electrical and Lighting Plan
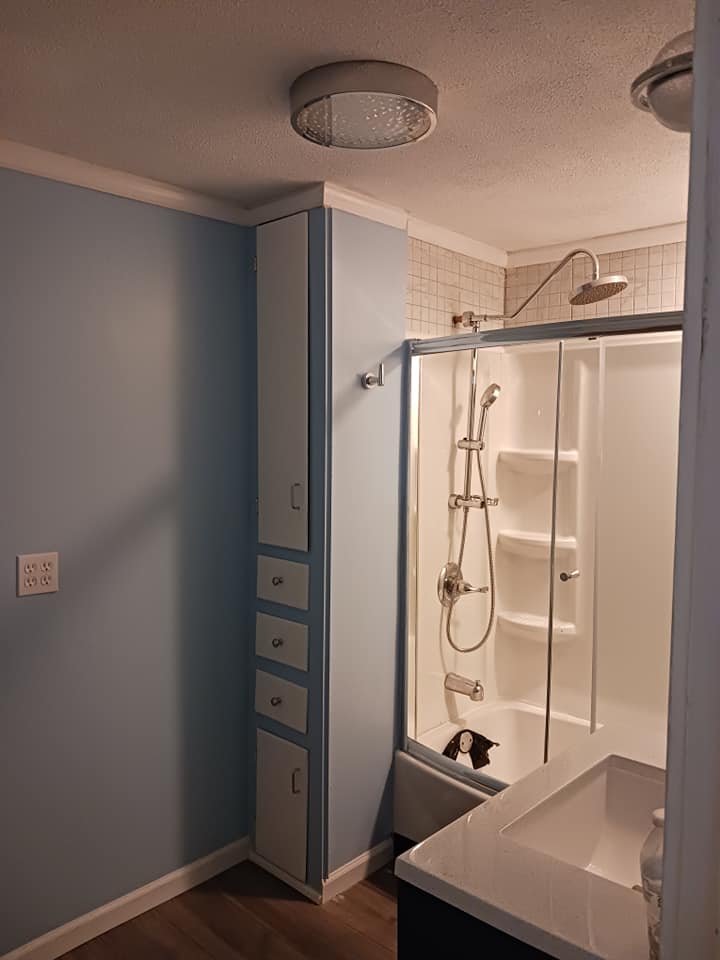
Plan your lighting in layers:
- Ambient (General) Light: A ceiling fixture or recessed lights.
- Task Light: Fixtures mounted near or above the mirror for grooming.
- Accent Light: Decorative sconces or LED strips under the vanity for a modern look.
Always ensure you have at least one Ground Fault Circuit Interrupter (GFCI) protected outlet near the vanity, as required by code.
Step 3: Material Selection for Durability and Style
The bathroom is the wettest room in your house. Your material choices must prioritize waterproofing and durability.
A. Flooring: Waterproof is Key
Choose materials that can handle standing water:
- Porcelain Tile: Extremely durable, waterproof, and widely available.
- Waterproof Vinyl Plank (WVP) / Luxury Vinyl Tile (LVT): Offers the look of wood or stone with 100% waterproof protection.
- Avoid: Laminate flooring (even water-resistant types) and traditional hardwood.
B. Shower System
Do not cut corners on the shower pan and waterproofing membrane. We recommend using a high-quality waterproofing membrane (like Schluter or Laticrete systems) over traditional moisture-resistant drywall (green board or purple board). The waterproofing layer is what truly protects your home from leaks—the tile is just the decorative finish.
C. Fixtures and Finishes
- Grout: Use epoxy grout or a high-performance sealant on standard cement grout to maximize stain resistance in the shower.
- Vanity: Consider materials like quartz or sealed natural stone for countertops, as they are non-porous and resist stains from makeup and chemicals.
- Fixtures: Choose high-quality metal finishes that resist corrosion and tarnishing.
Step 4: Execution – The Professional Sequence
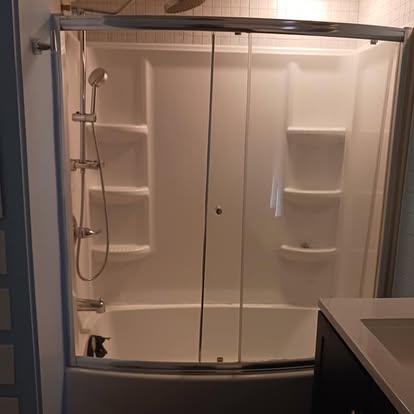
Once the planning is done, the physical work must follow a strict order of operations. A great handyman or contractor will manage this sequence flawlessly.
- Demolition: Tear out all existing fixtures and surfaces.
- Rough-In: Install new framing, and run all new plumbing pipes and electrical wiring (this is where inspections occur).
- Waterproofing: Install cement board and the critical waterproofing membrane in the shower/tub area.
- Tiling: Install the floor tile, then the wall tile.
- Drywall/Finishing: Finish drywall, apply primer and paint.
- Installation: Install vanity, toilet, and light fixtures.
- Final Touches: Grouting, sealing, mirror installation, and accessories.
Skipping or rushing any step in this sequence will compromise the entire room. If you are unsure about the plumbing, electrical, or waterproofing stages, it's time to call in a professional.
The Haslett Handyman team is ready to help you turn your blueprint into a beautiful, functional reality. Whether you need help with a complex waterproofing system or managing the entire job from demolition to finishing touches, reach out today!
Related
- What a full bathroom gut actually costs in Lansing — one real job at $17,500.68, itemised
- Bathroom floor waterproofing
- Cracked tile repair and waterproof floors