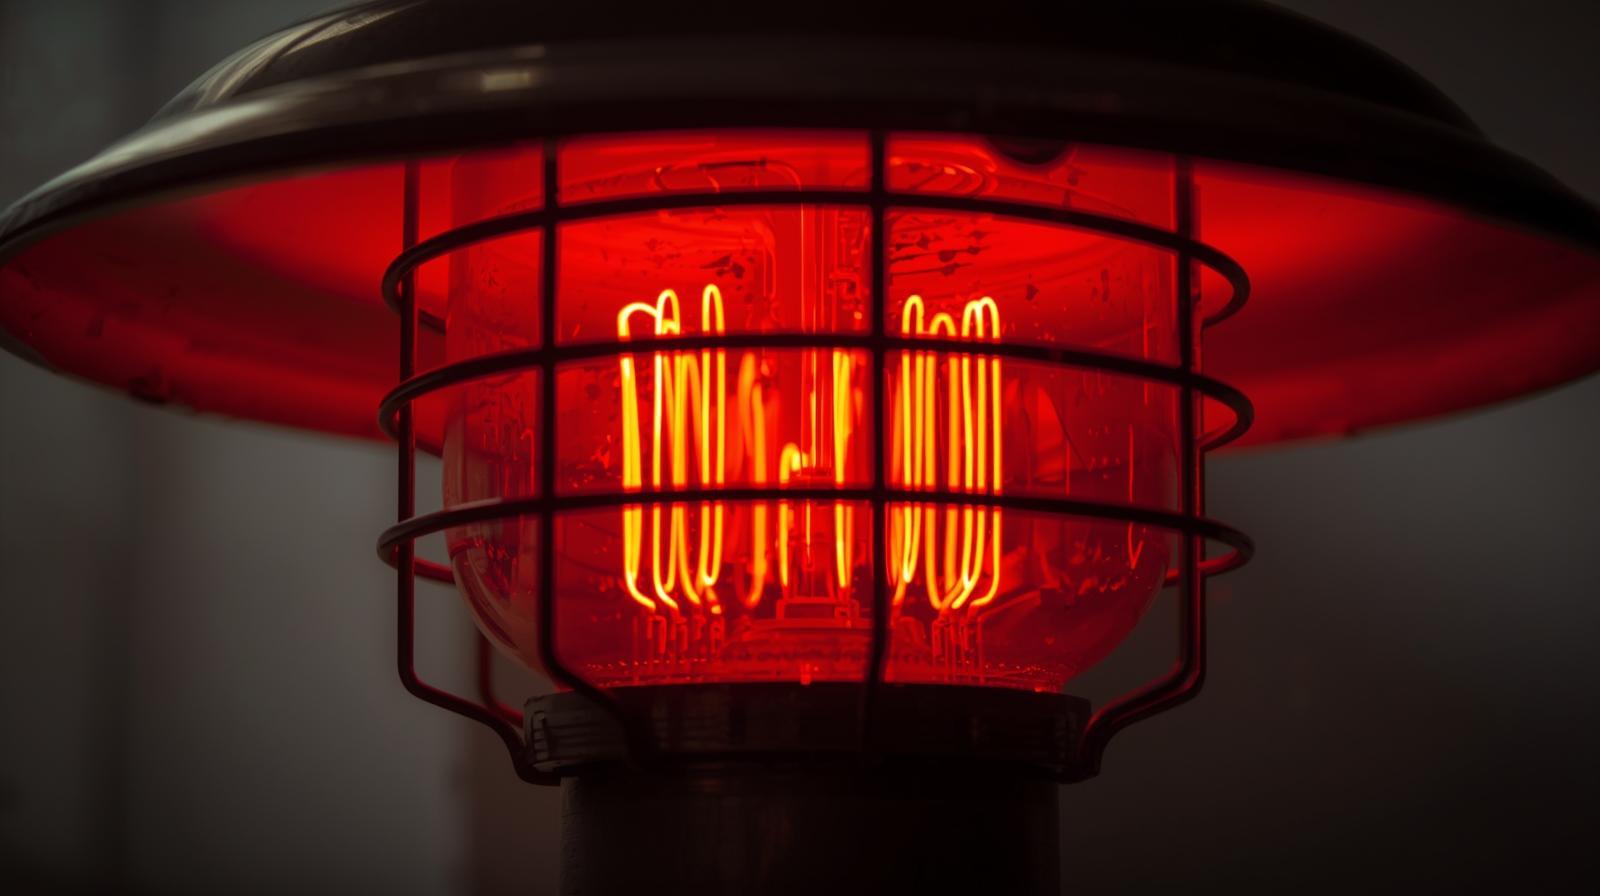
Warming Up Your Space: Essential Heat Lamp Applications and Critical Safety Checks
A heat lamp is useful and it is the fixture most often used carelessly. It produces intense infrared heat from a small point, which is why it warms a cold garage bay quickly, speeds a cure and keeps a vulnerable pipe above freezing — and why it starts fires.
Four rules, and none is optional. Use a fixture and a porcelain socket rated for the lamp's wattage, with a guard; a plastic socket in a standard clamp lamp is the single most common failure. Treat the manufacturer's clearance as a minimum, not a target — and remember infrared heats what it hits, so the distance that matters is to the object, not to the bulb. Keep it away from anything that can burn, melt or off-gas: cardboard, rags, insulation, foam, sawdust, fuel and solvents. And never leave one running unattended or overnight.
Two applications people get wrong. Speeding a cure on paint, filler or adhesive works, but only within the product's own temperature limit — too much heat skins a surface over a soft body and is why a finish dents a week later. And thawing a pipe with a heat lamp is fine at a sensible distance; the open flame people reach for instead is how a wall cavity catches.
The Handyman’s Helper: Practical Heat Lamp Applications
Heat lamps, often using high-wattage infrared bulbs, are about more than just keeping food warm at a buffet. When used correctly, they can significantly improve efficiency around the house and workshop.
1. Workshop and Garage Spot Heating
If you’re only working in one corner of a cold garage or basement, heating the entire space is a huge waste of energy. A strategically placed heat lamp can provide concentrated warmth exactly where you need it, making those winter projects bearable. This is often the most common and practical application for homeowners.
2. Accelerating Drying and Curing
One of the best uses for a heat lamp in a renovation setting is to speed up drying times.
- Paint and Patchwork: Trying to finish a wall repair before guests arrive? A heat lamp can gently warm the area, helping plaster, spackle, and joint compound dry faster, reducing humidity, and allowing you to sand and paint sooner.
- Glues and Finishes: For smaller projects, applying a low-intensity, consistent heat can help glues set more quickly or speed up the curing time of certain wood finishes and sealants.
3. Preventing Freezing in Critical Areas
For short periods, a temporary heat lamp can be a lifesaver. If you have a well pump, an exposed water pipe, or a small storage area that is susceptible to freezing during an unexpected cold snap, a low-intensity heat lamp can provide just enough warmth to prevent costly damage. (Note: This is a temporary emergency fix, not a long-term solution.)
Critical Safety Checks: The Handyman’s Mandate
The power and efficiency of a heat lamp also make it a serious fire risk if used carelessly. When you deploy a heat lamp, you are responsible for maintaining a strict safety zone.
1. Choose the Correct Fixture and Bulb
- Porcelain Sockets Only: Never use a standard plastic light fixture for a heat lamp bulb. The intense heat will melt plastic and cause a fire. You must use a fixture with a porcelain socket rated for the bulb's wattage (usually 250W or higher).
- Guard and Clamp: Always use a metal fixture with a protective mesh or wire guard to prevent accidental contact with the bulb's hot surface. The clamp should be strong and secure—a dropped heat lamp is an immediate fire hazard.
2. Maintain Minimum Distance and Clearance
This is the most crucial rule: Know the safe operating distance.
- Read the Label: The bulb packaging will specify the minimum safe distance to flammable materials. This is often at least 18 inches (45 cm), but it can be more. Never place the lamp closer than recommended.
- Clearance Zone: Ensure that the entire area around the lamp (above, below, and to the sides) is clear of sawdust, paint rags, paper, insulation, and any other combustible materials. Heat radiates, and materials can ignite long before they touch the bulb.
3. Never Leave Unattended
Heat lamps should be treated like a space heater or a running iron. They are not "set it and forget it" devices.
- Supervision: Only use the lamp when you are actively in the space and can monitor it.
- Avoid Cords: If possible, plug the lamp directly into a wall outlet. If you must use an extension cord, ensure it is a heavy-duty, outdoor-rated cord that is sized for the high wattage load (often 12 or 14 gauge). Thin extension cords will overheat and start a fire.
4. Placement and Ventilation
Heat lamps require air circulation. Do not aim them into enclosed spaces or containers. The area should be well-ventilated to prevent heat buildup. Always clamp the fixture securely to a structural element (like a wooden beam or a metal shelf) that cannot shift or vibrate.
Need Help with Safe Installation?
From securely mounting a permanent fixture in your chicken coop or basement to safely wiring a heavy-duty outdoor-rated socket, Haslett Handyman is here to help you incorporate supplemental heat safely into your home or workshop.
Don't guess on wattage or distance—call us today to ensure your heat lamp setup is compliant, secure, and ready to warm up your space without compromising safety.
Related
- Electrical repairs — fixtures and switches on existing circuits
- Five electrical faults you should never DIY
- What a garage clear-out actually costs